How to Add the Derby Client to a Project
These instructions show you how to add the Derby database driver to your NetBeans project. You must do this for each new project that uses a database.
Instructions
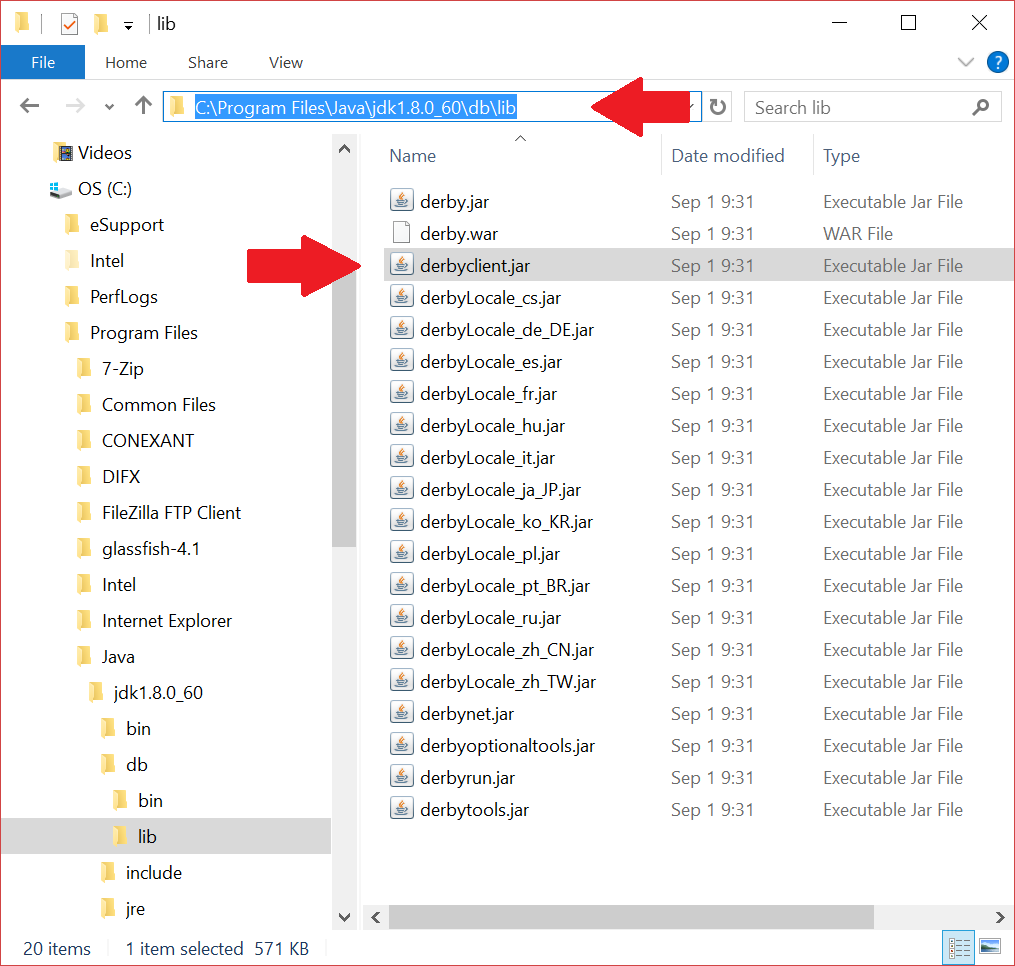
- In Windows Explorer/File Manager, locate the file "derbyclient.jar". You will find this in the directory where the JDK is installed.
- Copy the file and paste it in your project folder. In NetBeans you can do this by selecting the Files tab and pasting there.

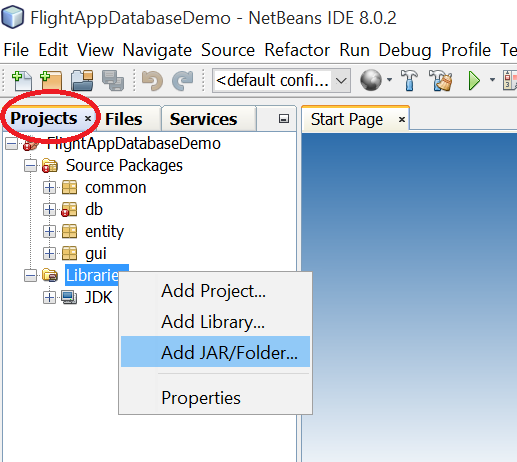
- Switch to the Projects tab, right-click on "Libraries" and select "Add JAR/Folder ..."
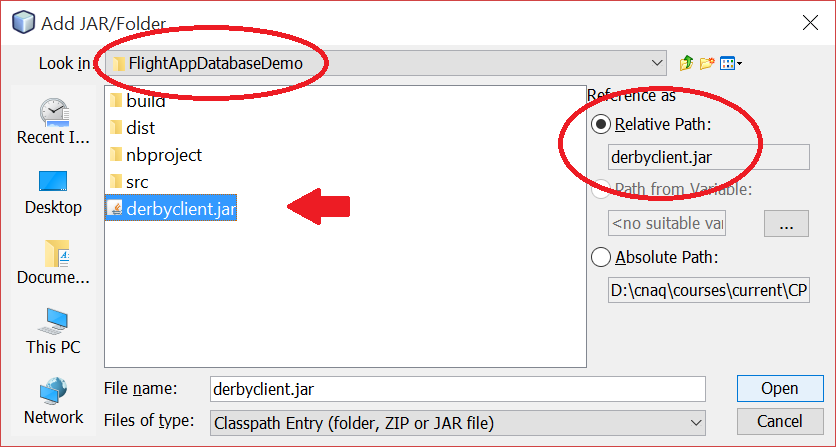
- In the window that appears, browse to your project folder, select the "derbyclient.jar" file, and make sure that "Relative Path" is checked.
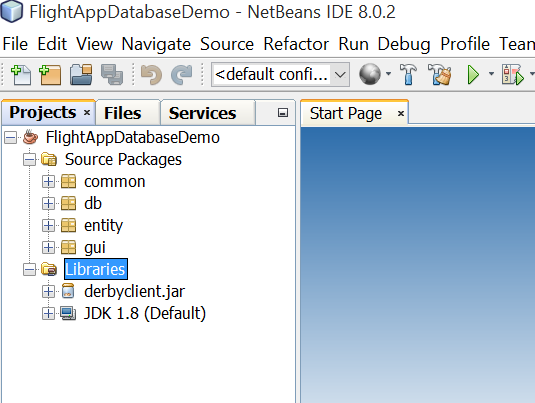
- You should now see the derbyclient as a library in your project.
*** The End ***